

No subtitles for this video yet.
Transform your home sewing machine✨Light, cute, removable✨DIY "Flat Sewing Table" tutorial!
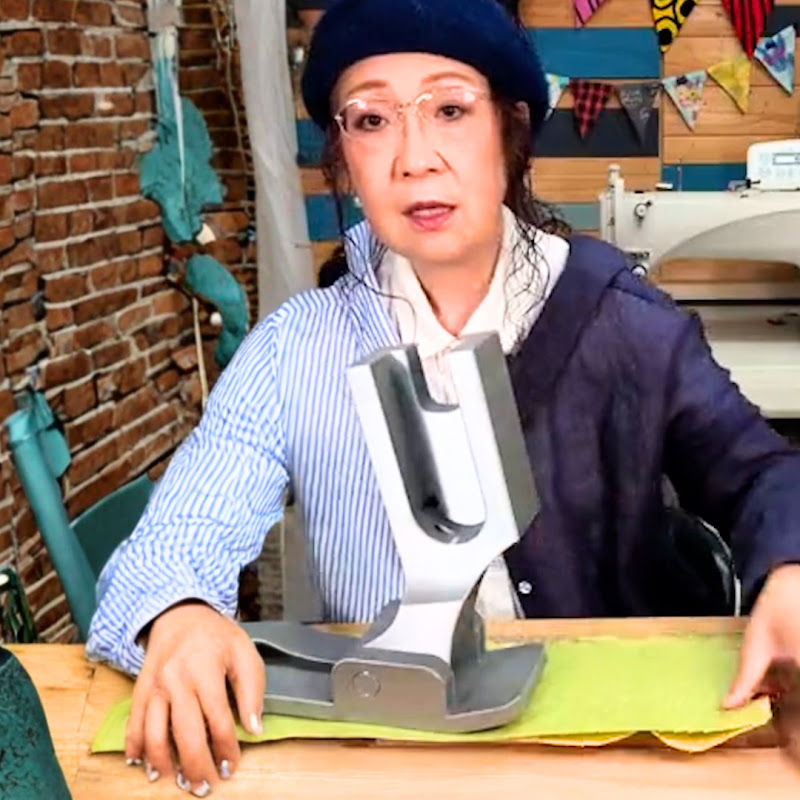
Description🔸 Tools & Materials - Seria wooden cases (10cm × 20cm × 7.8cm): 3 pieces - Cypress wood plank (width: 6cm, thickness: 0.9cm, length matching wooden cases) - Corrugated plastic board (Pladan) 50cm × 35cm × 0.3cm - White cloth adhesive tape - Wallpaper (pattern of your choice) 60cm × 45cm - Masking tape (optional) - ScMore
🔸 Tools & Materials
- Seria wooden cases (10cm × 20cm × 7.8cm): 3 pieces
- Cypress wood plank (width: 6cm, thickness: 0.9cm, length matching wooden cases)
- Corrugated plastic board (Pladan) 50cm × 35cm × 0.3cm
- White cloth adhesive tape
- Wallpaper (pattern of your choice) 60cm × 45cm
- Masking tape (optional)
- Scissors, utility knife, ruler
- Wood screws & screwdriver
🌟 Step-by-Step Instructions
1⃣ Measure the height of your sewing machine
Begin by measuring the height of your sewing machine’s working surface.
Since the wooden cases from Seria are approximately 7.8cm tall, stacking them around your machine will help you determine the ideal height. If necessary, adjust with additional materials (such as books) to perfectly align with your sewing machine.
2⃣ Arrange wooden cases and secure them with wood plank
Place the three wooden cases side-by-side (two horizontally and one vertically), then position the cypress plank on top, overlapping by 3cm on one side. Secure firmly with screws.
This extra 3cm portion creates a stopper, preventing the unit from slipping off the table.
Your sturdy wooden base is now complete! ✨
3⃣ Cut the plastic board to create your flat tabletop
Using a utility knife, cut the corrugated plastic board to fit precisely over the wooden base.
Corrugated plastic is lightweight, durable, and easy to handle—perfect for this project!
4⃣ Reinforce the plastic board from underneath
On the backside, reinforce joints and edges securely using w
- Loading…