

No subtitles for this video yet.
Step-by-Step Infill On An Extreme Ballerina Extension
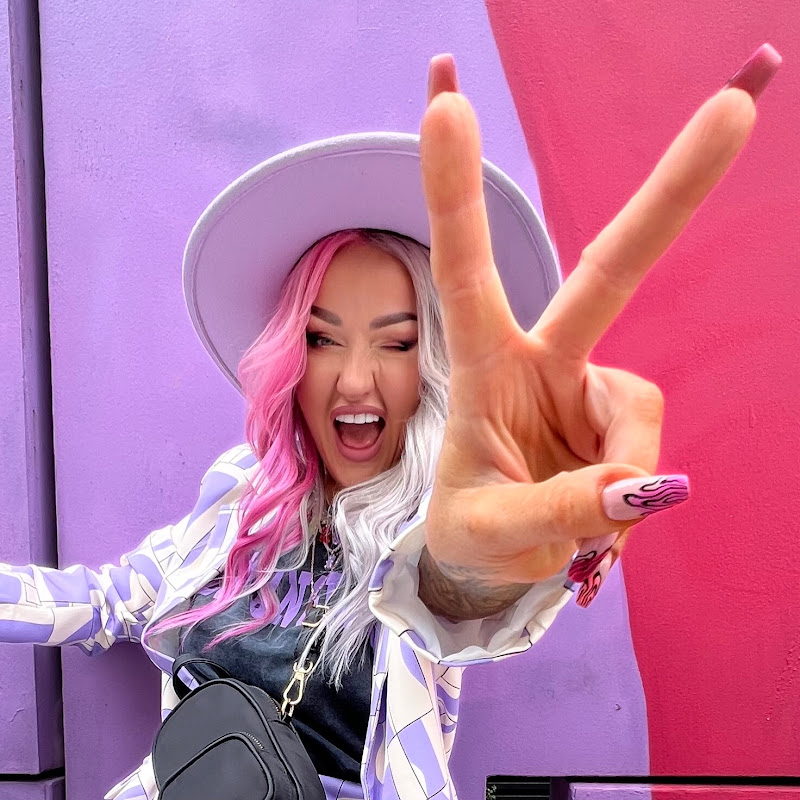
DescriptionHiya everyone, Welcome to the Kirsty and the Gang Show! Today I’m doing a fill on Andrea and I’m going to show you Step by Step. I’d usually start by removing the stones but these ones are actually just gel so I’m going to use the pink bit with my e-file and file off the “stones”, and the gel polish but I’m going toMore
Hiya everyone,
Welcome to the Kirsty and the Gang Show! Today I’m doing a fill on Andrea and I’m going to show you Step by Step.
I’d usually start by removing the stones but these ones are actually just gel so I’m going to use the pink bit with my e-file and file off the “stones”, and the gel polish but I’m going to leave the acrylic intact. I’m not going to touch the natural nail at all for now. If you have any lifting, remove those pockets now too.
I need to be super careful with Andrea cos she has super thin skin so I’m going to use the cuticle bit and the proximal fold bit to prep those cuticles and push them back. I’m then going to use the mandrel bit and a fine sanding band at a super slow speed.
I’m going to use the Nailchemy cleanser before going in with Blossom from the Genesis collection. I’m going to take a small bead, pop that in the cuticle area and make sure I rebalance the apex.
To get those small beads you’re going to use a higher angle when picking up the beads and make sure you keep your brush in that paddle shape, you don’t want it twisted whilst you’re manipulating the acrylic.
I’m going to use a 150 grit file to shape the nails. I’ll start with the cuticle area and I’m going to show you how I use the secret weapon bit around that area to make the acrylic super flush to the natural nail. I’m then going to do the sidewalls and make them straight. I’ll file the sides of the nail and then go over the top and marry those two sides together. I’ll fin
- Loading…